How to Plant a Shrub or other Plant in the Garden
Successful planting in your garden to ensure the plants grow and thrive
Correct planting of your newly acquired containerized plants or lovingly tended seed-sown planty teenagers (ready to face the world alone) is vital if they are to survive and thrive well. Too frequently plants are just plonked into a hole in the soil without thought only to be remembered by the garden centre label that survives as a grave-stone.
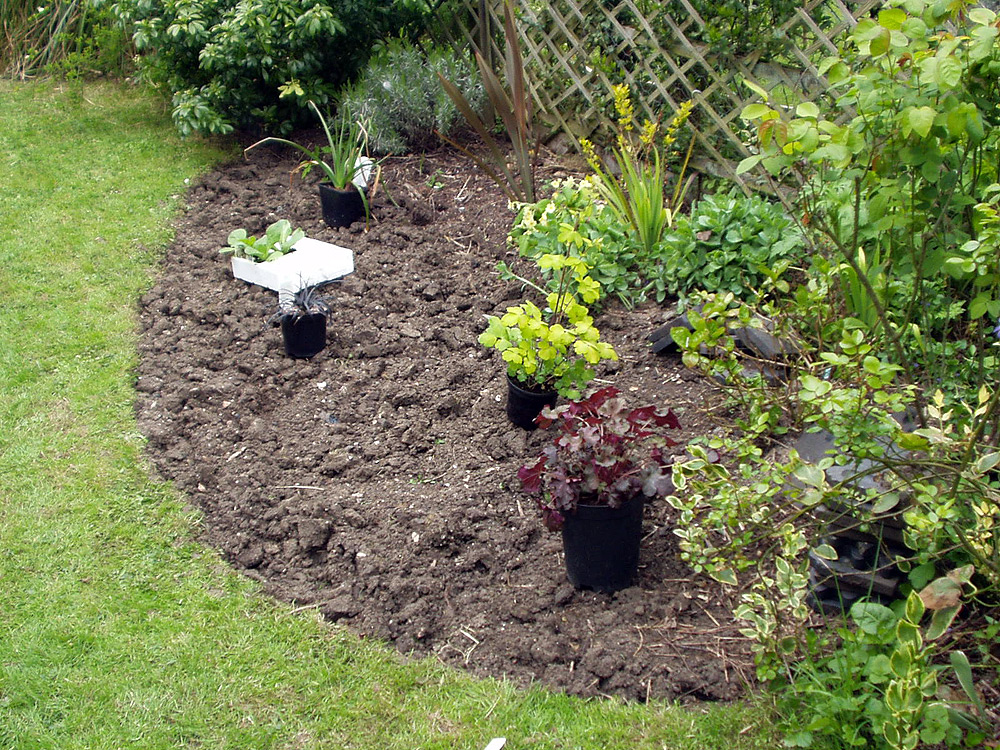
The first step in planting whether it be a bed, several plants or just the one is to to place them still in their pots on the bare (dug-over) soil as here. This is when you pay attention not only to the colour and shape of leaf and flower, but also the final size of the plants and their likelihood of spreading or remaining small and discrete. This is to be a perennials bed and there are a few more to come.
First in is a Red Hot Poker, Kniphofia. There are easier ways of planting, but this is mine, I've put in thousands of plants this way and it beats all others I've come across - if you want to cut corners and save time, then stop reading now, if you're prepared to make the effort and reap the rewards, then keep going.
Step one is to dig a hole about three times the volume of the pot or soil ball of the plant you're putting in - yes that's right 3 times - don't skimp.
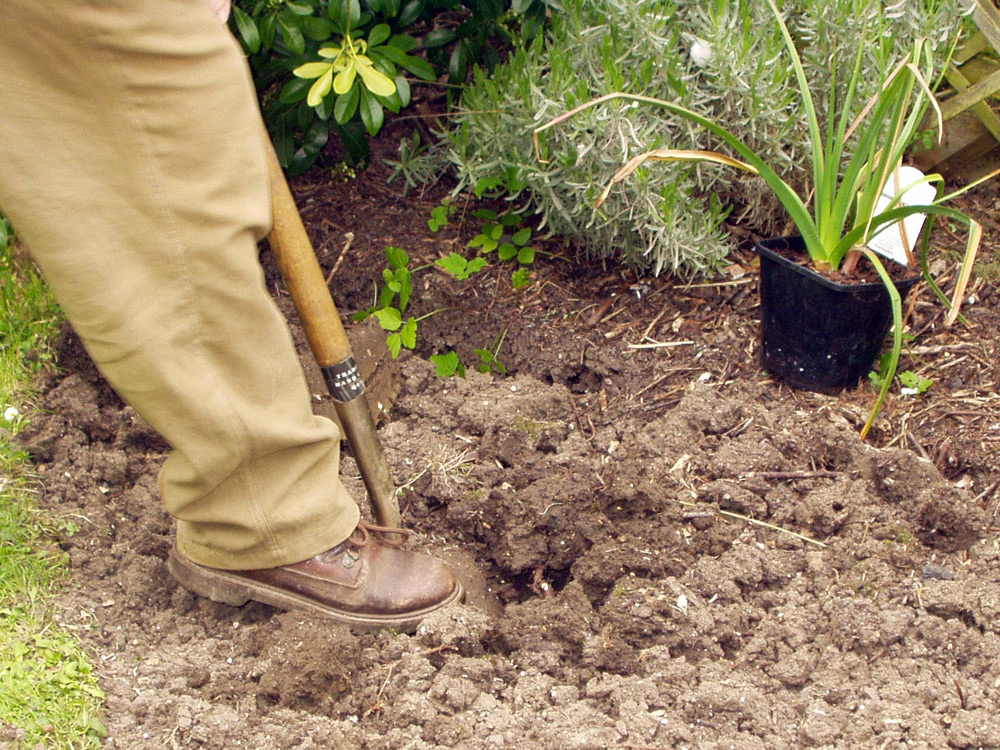
This picture is supposed to show the plant in a hole three times bigger than the pot, but it's not so clear what's going on. The important thing is don't skimp and make it smaller. It will take you less than 5 minutes to dig this hole probably - ok, it'll be a hard work 5 minutes - but compared to the years that this plant will be in this position, it's nothing.
This may seem like a small task when it's the first plant, but by the time you get to no. 30 or 40 (if you've that many to go in) it becomes a bit harder! but just as important. Just remember that another few minutes now is nothing compared to the life of the plant and if you really are too tired to do it properly, it's best to stop now and start again tomorrow.
Why do we need to dig a hole 3 times bigger than the pot? So we can incorporate lots of lovely organic matter into the planting hole. You plant has until now resided in nice soft processed compost for its tender little roots to feel comfy in. No matter how lovely your soil is, it won't be as nice as what is in its pot, so we need to make a transition zone from pot-compost to soil without too large a jump in doing so.
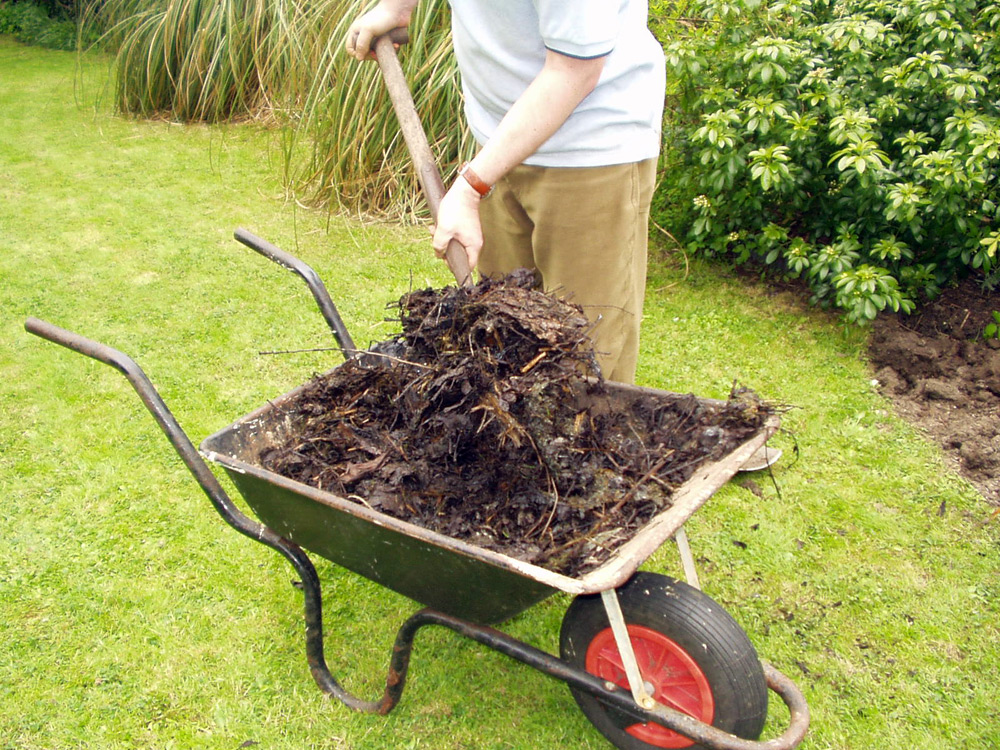
I'm using garden compost here as I've got lots of it. You can use this, well rotted farmyard compost, old grow bags, peat or any other soil improver that comes in bulk.
Fill the hole that you have dug loosely with your chosen organic material. Don't worry about adding too much, as long as you follow the rest of the instructions, it will be ok. It will seem like all your hard work has been in vain as there's no room for the plant. but don't worry, the next step makes room...

More hard work - scrape back about half the soil that has been dug out of the hole and vigorously mix it into the organic material with your spade, chopping and twisting movements are effective here - I'm doing it so well, the spade is all a blur! The whole idea is that you place your new plant into a mixture of soil and your chosen organic matter to act as a buffer zone between what is in the pot until now and your raw unadulterated soil. Your 3 x pot size hole now has a depression that is about pot sized, though a different shape.
Note the soil - brown, and the added organic matter - dark brown/black.

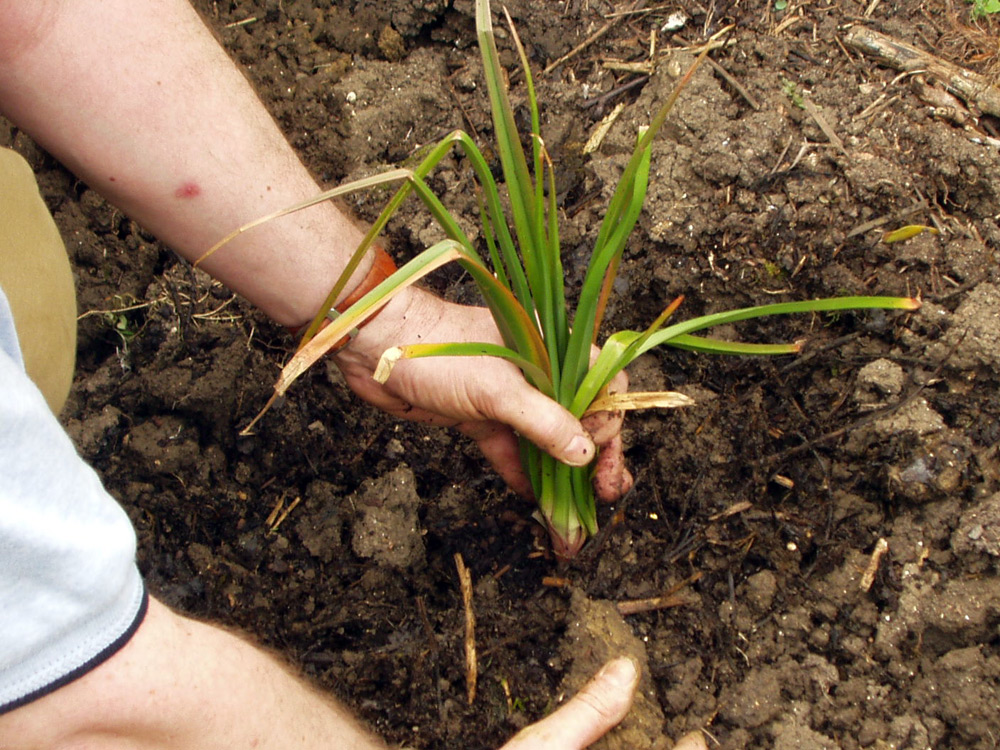
With your left hand (if you are right handed) hold the plant around the base of the stem and the soil. With your right hand squeeze the pot gently one way and then the other until it is free of the roots and can be lifted away from the plant and root ball easily. Take care not to drop the plant at this point!
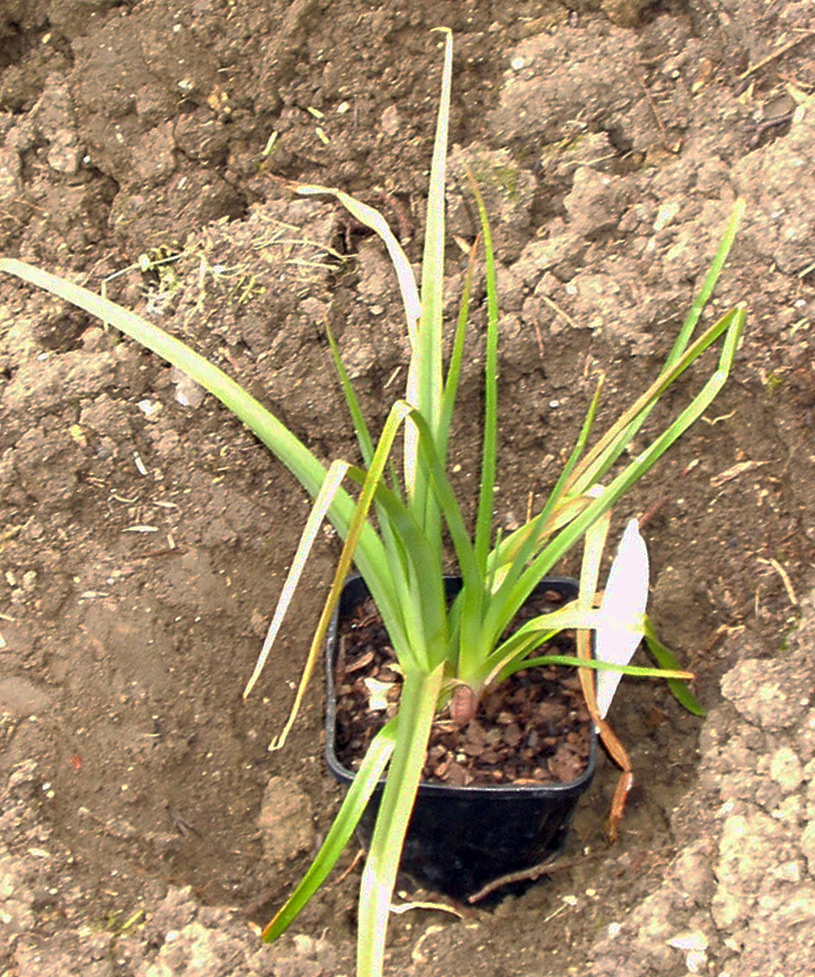
Scrape a large enough hollow for the plant to go in with your free hand and place the plant with the top of the compost level with the soil. Some (on national TV even) claim that you need to tease out the roots so they don't keep going around in circles. That's like saying that my dog would stay 3 feet away from me if we went for a walk without a lead - it won't hurt to tease out the roots, but they really won't go in circles if you don't.

Hold the leaves together and out of the way (easy with this plant, but not always so with others - do your best) and scrape the loose soil and any spare organic matter back into the remains of the hole so that there is a flat result with the plant sticking out, and then keep going until the plant is the centre of a small mound until you...
Firm the soil down around the plant with your foot, be very careful here, imagine you're knocking nails in around your baby's cot without hitting the baby in the process. There's a very delicate and easily damaged plant there and some pretty big forces needed to firm the soil, hold the leaves out of the way so they are not damaged (don't pull!).
(No picture because I forgot) - final thing is to give you newly planted introduction a good mulch or organic material if you have any left, at least an inch deep and for a 6 inch (12 is better) radius around the plant (careful not to bury any leaves) and then a thorough watering in. The plant may not need a drink as the compost and soil may be reasonably moist, but the water is to settle the roots and mulch around the plant, about 1/3 to 1/2 a 2 gallon (10L) can full is needed.
Stand back and admire work / go down pub / go and watch soap opera of choice / retire with gin and tonic / put another plant in / play game in garden with children or dogs who have assembled to view proceedings......according to taste.

Copyright 2000 - present. All Rights Reserved | Privacy Policy Statement