Plant and Seed Shop
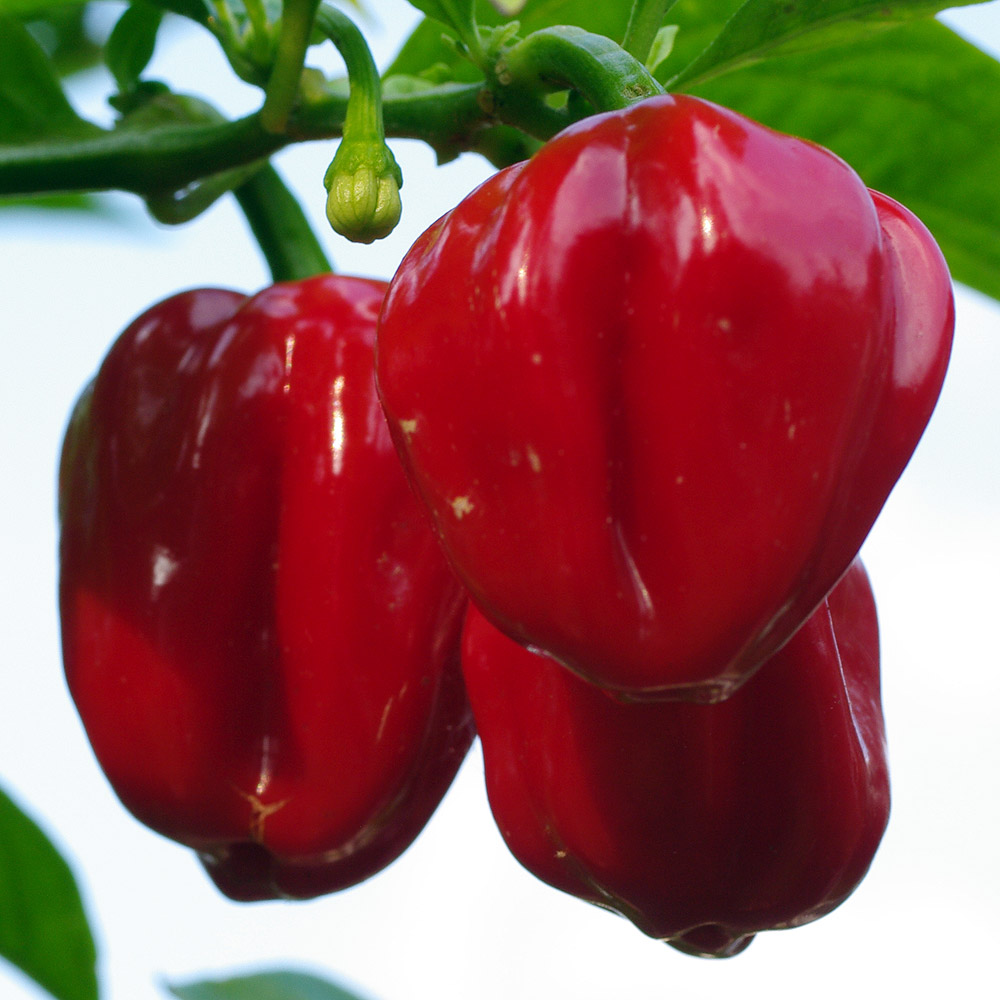
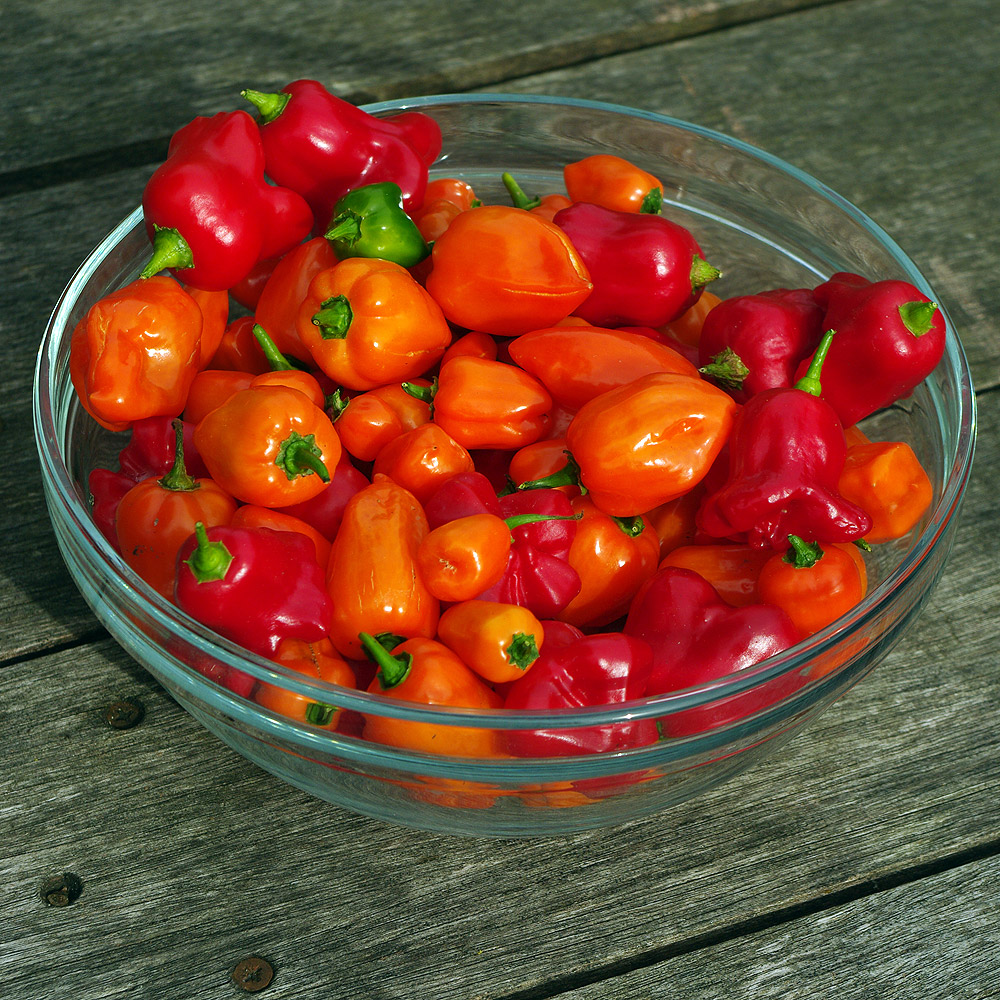
Chili Peppers
Grow From Seed or
Buy Plants
Half hardy (frost susceptible) Sow seed mid
Jan - April, harvest July - October
Best grown
in containers in a warm, sunny and sheltered position.
Chili, Chile, Chilie
Chilies can be easily grown from seed and cultivated at home - Growing chilies from seed will give you access to far more varieties of chilli than you will ever find for sale in the supermarket or even specialty shop. You don't need many plants to be self-sufficient all year round, the first year I grew chilies I had them in the freezer until May the following year, just a couple of months before the next crop were ready.
Germinating from seed
Sowing - use new seed compost, it makes a big difference to successful germination, don't use multi-purpose compost. Ideally the temperature should be kept at 18-21C (65-70F) which is quite easily achieved in a warm modern house. Until they germinate place them inside a room and not on a windowsill where the temperature can drop significantly at night or if trapped by blinds or curtains. Cover the top of the pot with cling film to stop drying out, remove once the seeds have germinated (which can be spread over 2-3 weeks) and the seedlings start to touch the film
They should be sown early in
the season as you are able to accommodate
them once growing and keep them sheltered.
They take quite a while to mature and start
fruiting, it will happen if you sow them
later but the productive season will be
shorter. Cover the seeds very lightly (their
own depth) with compost or vermiculite and
provide light as this helps germination,
a nearby window is ok, they don't need to
be on the windowsill where it will also
be colder, which they don't like.
1st transplantation
- Prick out the seedlings when they are
big enough for you to handle into individual
3" (7.5cm) pots. Keep them in a bright frost-free
place, a conservatory is ideal or the windowsill
of a less-heated room. Early in the year
excess heat will make them grow weak and
spindly without the light to bring them
on, so not a warm room.
Final positions - Give them enough space so they get lots of light and make sure the leaves of adjacent plants don't over-lap. When they have filled the small pot (check under the pot for signs of emerging roots) they can be put into larger pots I use 2L or preferably 3L, a thin cane for support helps, tie the plant loosely to the cane.
Growing the plants on
Chili plants like sheltered conditions more than they need loads of sunlight, sheltered and bright is better than not-sheltered and sunny. Of course sheltered and sunny is even better, though watch for overheating and scorching, especially when they are young. A sunny windowsill will suffice if it's all you've got and you'll get a reasonable crop of chilies from this position.
You may be able to grow them outdoors depending on where you live, if you do, then put them in the most sheltered bright spot you have. I've had them grow tall with loads of foliage outdoors (in Cambridgeshire) but hardly set any fruit, whereas under shelter with less light they don't grow as large but have lots of peppers. They will appreciate the sheltered micro-climate up against a brick wall in the absence of other protection.
They will start to fruit
from mid-summer onwards and well into the
autumn. Like sweet peppers there
aren't really green and coloured varieties,
the green ones are just unripe coloured
ones.
Storage
- I like to leave the peppers on
the plants until I need them and cut them
for use, though even if you are moderately
successful you will have more than you can
use immediately. They can be left on the
plants for a long time, I finally cut all
mine off last year just before Christmas.
On the other hand, cutting them when green
or when just ripened will encourage the
plant to make more chilies while leaving
them on the plant slows production down.
You could dry them but I find that
freezing works better.
Put them whole into a sealable plastic container
and just take out what you need, they thaw
quickly and are easier to cut than when
dried.
Drying
is the traditional way of storing
chilies and you will see many recipes (especially
Mexican) that call specifically for dried
chilies. I suspect the reason is of convenience
rather than anything else. In a hot climate
without refrigeration it works well and
there may be no real alternative. To dry
them make sure the peppers are kept whole
with a bit of stalk attached so that all
the oils and flavours don't escape. Let
them dry slowly and naturally on a sunny
windowsill, don't chop before storing. Store
in an air tight jar and ideally use within
6 or 12 months. Cut up as needed from dry
(scissors are easier than a knife) or soak
in water for 30 mins or so before use.
Overwintering plants - Though often grown as half hardy annuals, chili plants are actually perennials and so can be overwintered successfully to grow again next season. They are very sensitive not only to frost, but also to cold temperatures and being too wet. Keep your best flavoured and most productive plants at or above 7-8C ideally a bright windowsill in a cool room if you don't have a frost-free greenhouse will do nicely. Keep them fairly dry but don't let them wilt and start to water them more when they start to show new growth which will start in late winter / early spring. Too much warmth with weak winter light will make them grow weak and leggy, too much wet will lead to rot.
Capsaicin
Capsaicin is the chemical
in chilies that makes them hot -
Chilies belong to the genus Capsicum which
gives the chemical its name.
Like lots of plant chemicals
that we find tasty, it is actually produced
as a deterrent against organisms that may
eat the plant, particularly fungi and insects.
Birds can't
taste capsaicin - Birds spread the
seeds of chilies, they pass through their
digestive system intact and therefore viable,
mammals often have teeth that crush and
so destroy the seeds, so it makes sense
for the plant to be palatable to animals
that will aid its spread. Capsicum seeds
are predominantly spread by birds.
Copyright 2000 - present. All Rights Reserved | Privacy Policy Statement